Essential editing transitions - explained
Editing is a thing that not everyone notices in movies. In fact, we all see it, of course, but we don't always give it the importance it deserves, even though editing is what makes movies exist. Today we're going to talk about editing: basic techniques and transitions.

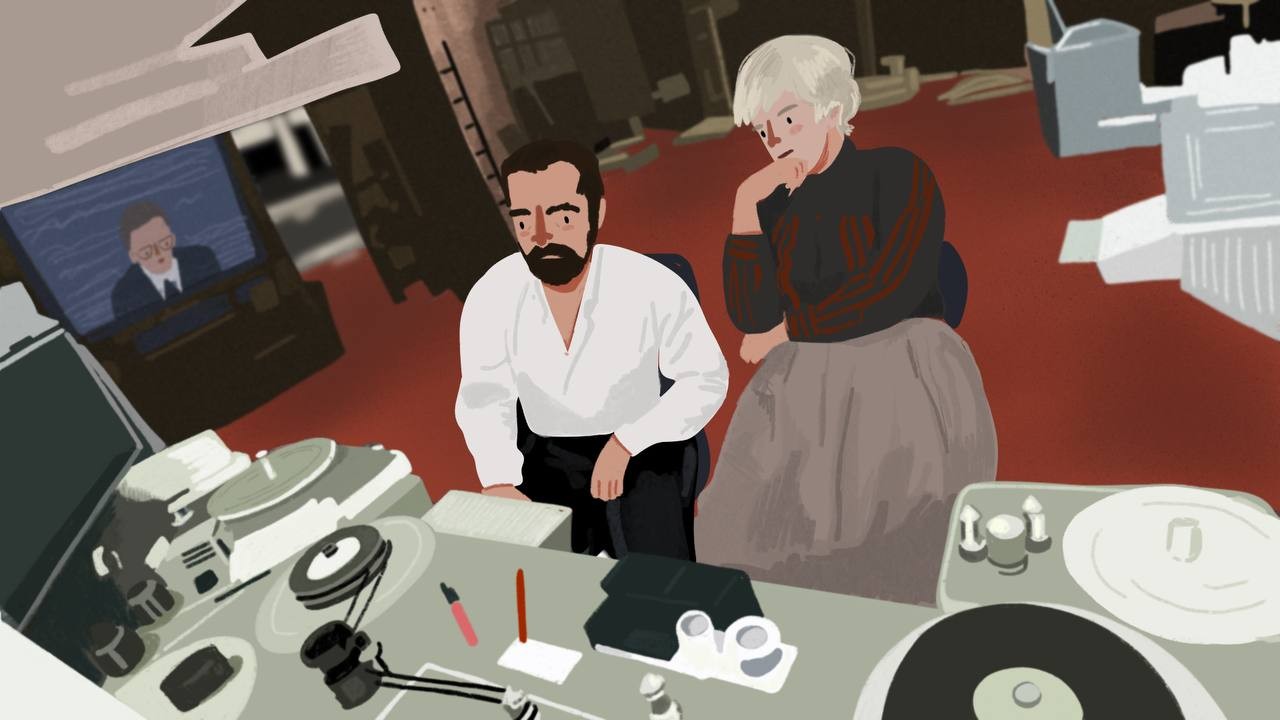
Editing is a thing that not everyone notices in movies. In fact, we all see it, of course, but we don't always give it the importance it deserves, even though editing is what makes movies exist. The very first discoveries in cinematography were montage techniques and tricks, because they created a film out of many different shots. Today we're going to talk about editing: basic techniques and transitions; touch upon the philosophy behind editing and how it connects the frames into a cohesive whole.
But before we continue, we want to remind you that here we promote the love of art and try to inspire you to take your camera and make a short film. Leave the boring pre-production routine to the Filmustage - automatic script breakdown - and focus on your creativity!
Also after a long time of hard work we are happy to announce the beta-testing of the new scheduling feature in the Filmustage software. Be one of the first to test the new functionality - click here for more detailed information.
Art by @nadi_bulochka
Editing transitions
Cinematography is a great mechanism to deceive the viewer. This deception lies in the fact that cinematic language must force the viewer into the veracity of what is on the screen. There are many things that make this mechanism work: a good script, cinematography, and, of course, editing. Have you ever wondered how exactly your favorite movie could change if you edited it differently? That's right, editing changes the movie drastically. So let's take a look at the major editing transitions in filmmaking.
The Cut
Yep, the cut is the simplest and also the most important editing transition in cinematography. Surely you've heard the resounding expression "Cut!" more than once on the set. And while in filming, "cut" means to stop recording a particular shot or take of the shot - but in editing it means exactly what you think it means: one shot is cut at a particular place, and the next frame is added to it, and so on.
The cut allows you to move between frames in the same scene, or even between different scenes. And while this is the most common montage transition, it doesn't become simple or uninteresting. Like a lot of filmmaking, it just becomes complex depending on how it's used. So it is with the cut. For example, there are linear and nonlinear editing techniques, as well as associative editing, clip editing, and more. Each of these has a place for the most seemingly simple of cuts.
Jump-cut
One of the varieties of simple cutting that the French New Wave filmmakers came up with. François Truffaut, Jean-Luc Godard and others created their iconic masterpieces to prove that cinema is a free art that can be anything. Although now we are not surprised by jump-cuts in cinema, but in the late 50's absolutely every film looked nondescript: they were all shot and edited in the same way, so the jump-cut technique was a refreshment for the creative industry.
The Jump-cut is an abrupt transition between shots that are not connected by composition or action. As a result, the transition seems harsh and "raw," which is what filmmakers use for both comedy and drama.
The Fade in/out
Fade in or out is an dive or disappearance of the shot into black or white. In the history of cinematography, fade in/out is a familiar device to start a film: an image slowly emerges from the blackness of the cinema room. This process of film manifestation seems to symbolize the process of our immersion into the world of the film.
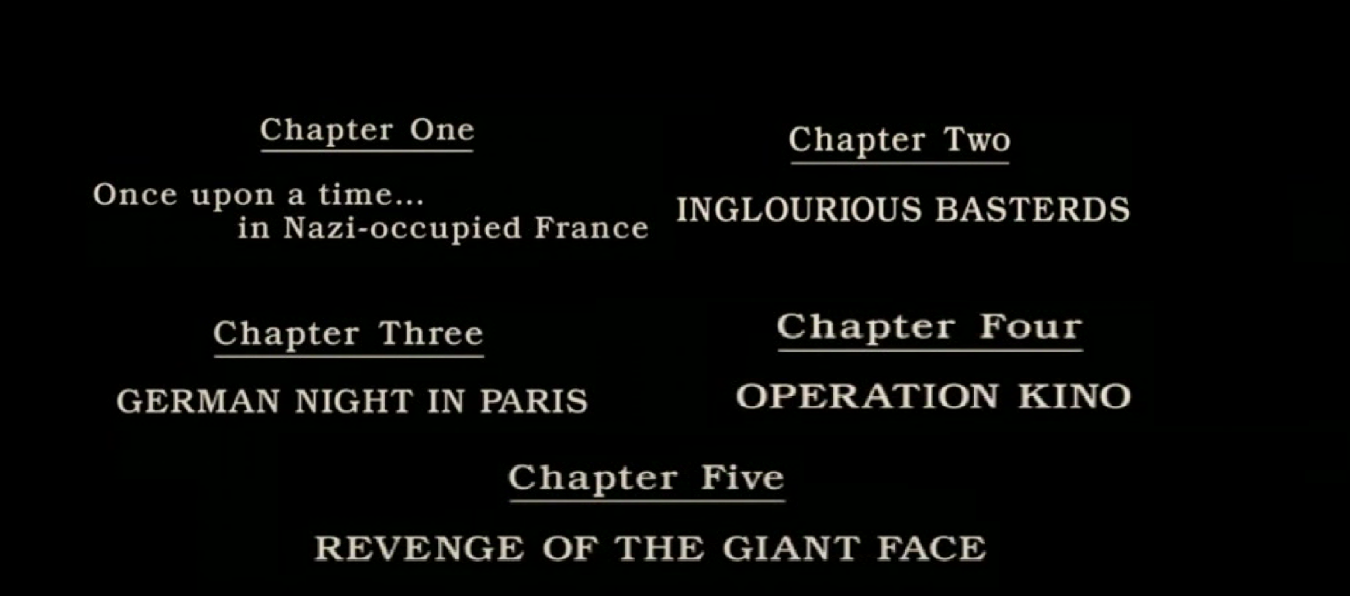
And when the frame, on the contrary, fades and disappears into blackness, we realize that it is either the end of the film or the conclusion of a chapter within the film. For example, Quentin Tarantino likes to resort to blackout when a certain chapter of his films ends. This not only gives the director the opportunity to make a meaningful point, but also to give the viewer a break, since we all know how intense Tarantino's films are.
Also, in the hands of creative people, this technique can evolve into something more dinmic, as in David Fincher's "Gone Girl". Fincher alternates fade in & out into black to create a flashback effect as well as create suspense.
Fade in & out into white is not as common, but there is a rationale for it as well: the fade to white is conceived to symbolize a character's immersion in sleep or even death.
The Dissolve
Dissolve works on the same principle as fade in & out, i.e. smooth transition. However, if in our previous transition we have considered only fade in and fade out in black or white, then dissolve is a smooth transition from one frame to another. It is as if the frame is flowing from one to the other.
Sometimes dissolve simulates the effect that between the frames passed some time, or on the contrary, connects the frames from one scene, to emphasize their duration and not lose the atmosphere. As you understand the second option is especially good for portraying moments when a character is engrossed in a memory or a dream.
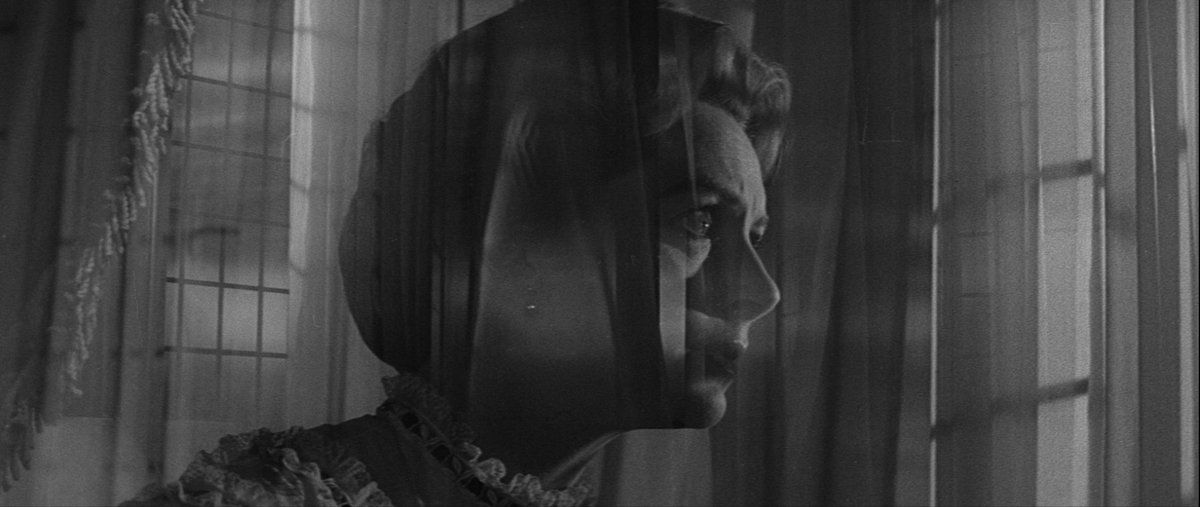
Sometimes filmmakers use dissolve between multiple shots to create a unique and distinctive visual style, such as in "Apocalypse Now" by Francis Ford Coppola.
The Match cut
From the name we can again understand that the match cut connects frames based on their similarity. And this can be almost anything: composition; camera movement, character movement or object movement; it can also just be a standing object, a silhouette or even music - as long as the two frames being connected have something in common.
It is this direct gluing together of frames based on the principle of similarity that allows the viewer to build connections and logic into the film. Perhaps the most iconic example of a match cut is Stanley Kubrick's "2001: A Space Odyssey", where Kubrick used the match cut to create a visual metaphor for progress, contrasting the first tool of labor with the spaceship.
The Iris
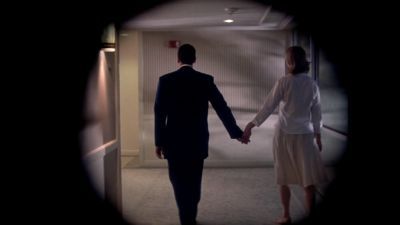
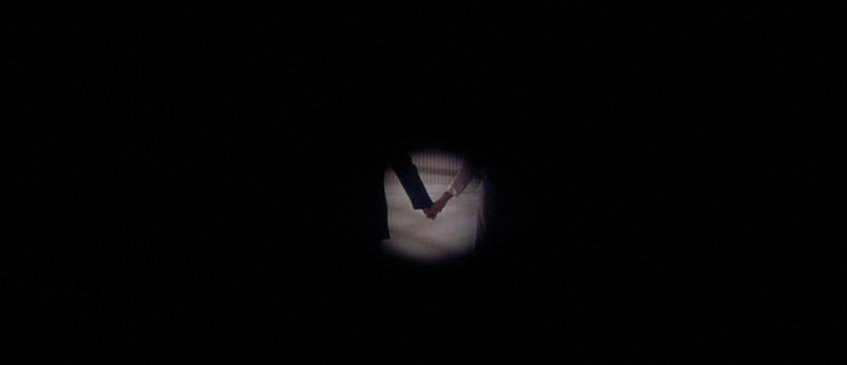
This technique has a very interesting history: originally it was not an editing transition, but quite a practical effect, which is achieved by gradually closing and opening the lens aperture. It's essentially the same as fade, only in the form of a circle. As a result, iris became a suitable technique for early cinema to start or end a film.
In modern cinema, however, this editing technique is hardly ever seen, but we can still see modern examples of iris in films that are themselves a reference to the history of cinema, like Damien Chazelle's ''La La Land''.
In other examples, modern filmmakers use iris to focus the viewer's eye on an important detail. After all, this darkening seems to simulate the way the human gaze is focused.
The Wipe
Wipe is another "old-school" technique, which is the changing of one frame by displacing and appearing to the right, left, top, bottom or diagonally. For example, the "Star Wars" saga, where this technique was used really often.
Indeed, "Star Wars" is the perfect movie for wipe transitions, because George Lucas created an epic tale, and the wipe is like simulating a page turn, a chapter change, which is extremely appropriate for a space opera.
The passing transition
The passing transition can be called an evolution of the previous one, because it also represents the displacement of one frame by another across different sides, but in a more inventive way. The passing transition takes place with an object that moves from one side of the frame to the other, and the editing transition is done on the movement. That is, frame A is trimmed at the beginning or end of the movement, and frame B is attached to it, trimmed so that it corresponds to the movement in frame A. For example, Edgar Wright often resorts to this technique.
Another version of the passing transition is a little easier, but more common: the frames change with the movement of the character, object, or even the camera.
The Whip pan
If you've read our blog about camera movements, then you already know the term whip pan, which is essentially a very quick pan from one object or character to another. But today we're talking about editing, so please note that many filmmakers cheat and hide editing transitions within this technique.
Not only, the movement is very fast, but the image is blurred, so our eye can barely see the hidden cut. The Whip pan can be used in different cases: to move from one character to another or to change between scenes. One thing remains the same: the whip pan is a great technique to work with the rhythm of the film so the audience is kept in suspense.
The L-cut/J-cut
The L-cut & J-cut are the two main transitions that are based on working with audio. That's because shots can essentially be tied together with any editing transition while the audio of one shot continues into the next, or vice versa. In this case, it's easier to show than to describe.
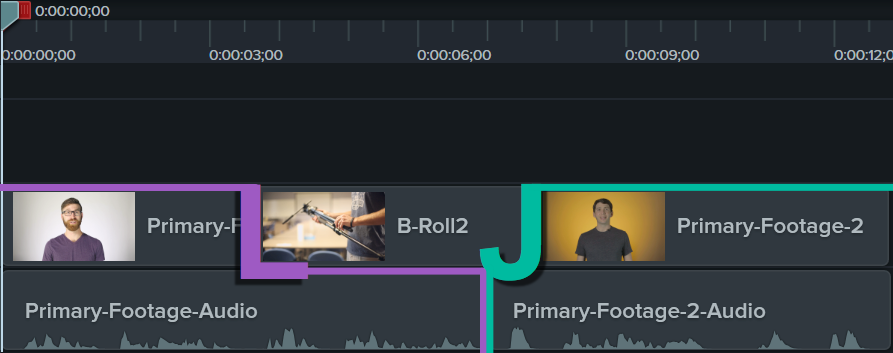
The J-cut is when the audio of the next frame comes before the image itself, thereby associatively linking the frames: the viewer hears the sound of the next scene before he/she sees it. With the L-cut it is exactly the opposite. Thus, the L-cut & J-cut are ideal for editing dialogues, because they allow you to make it realistic and seamless.
Cinematographers also use them to create flashbacks or flashforwards, because L-cuts & J-cuts make these transitions more cinematic and realistic. They stitch the film together with invisible threads, so as we watch, we rarely notice how one shot replaces the other.
Conclusion
As you can see, the world of editing transitions is no less diverse than camerawork and directing techniques. The main point we wanted to make is that cinema is a very complex process, every part of which is an intricate craft and art. And as we begin to research on each aspect of this industry, we fall more and more in love with cinema.
We hope our blog today has been interesting and useful to you. Appreciate and love movies. That's all for today, see you next week.
From Breakdown to Budget in Clicks
Save time, cut costs, and let Filmustage’s AI handle the heavy lifting — all in a single day.